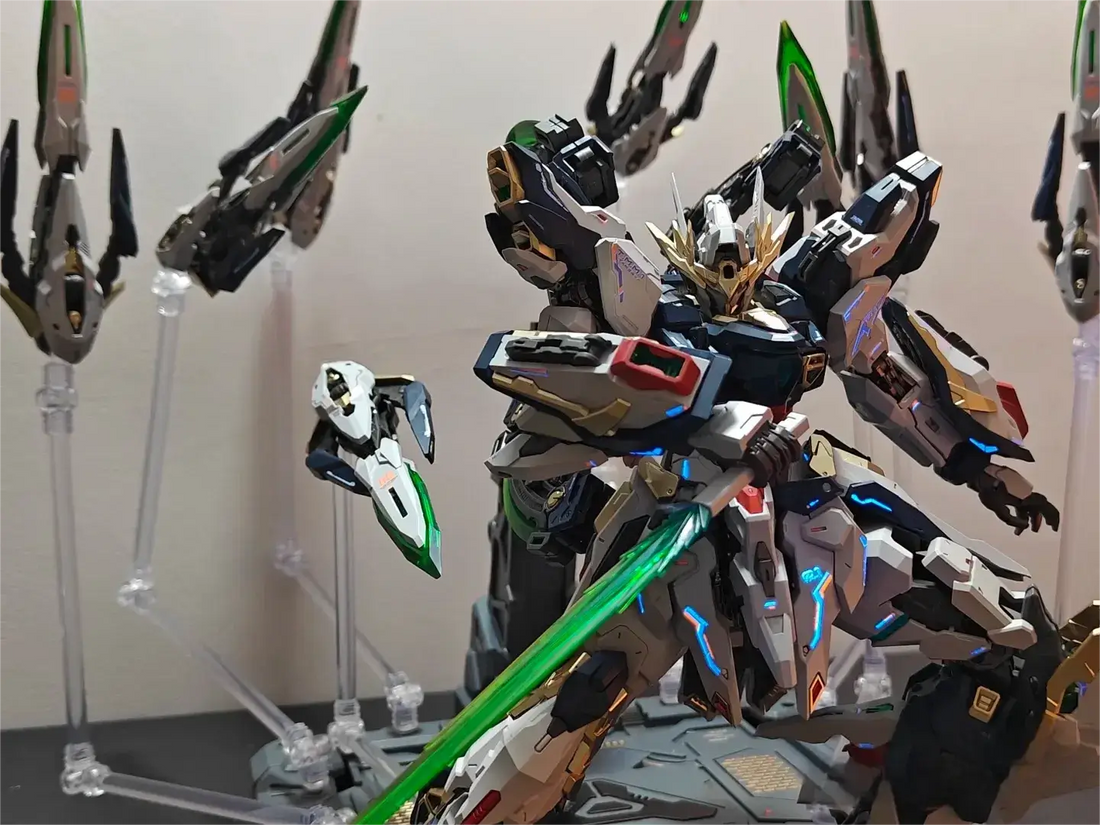
How to Properly Assemble Your First Gundam Model Kits
The model contains all components required for assembly, a state collectively referred to as the "gundam kits." The process of assembling these parts strictly following manual instructions is called "direct assembly" or "bare assembly." Contemporary gundam model kit predominantly utilize glue-free snap-fit designs where components interlock through peg-and-socket connections, substantially simplifying assembly procedures.
The first step in model-making begins with direct parts assembly. Fundamental aspects like manual interpretation and basic assembly techniques will not be reiterated here. This guide will focus extensively on proper parts removal techniques, as these directly impact later-stage sprue gate treatment quality. Though seemingly simple, they involve specific tricks and precautions.
Before proceeding, let's clarify a fundamental concept: Gundam Figures Models are manufactured by injecting materials into steel molds, hence the grid-like structures on model runners are termed "runners" –literal channels through which molten material flows into mold cavities. The connective segment between runners and model components is called the "sprue gate" .
I. Correct Parts Removal Technique
This process consists of two phases: Initially cutting parts from runners while retaining a portion of the sprue gate, followed by neatly trimming residual gates. Residual protrusions from incomplete gate removal will not only hinder seamless part integration but also compromise aesthetic integrity. When separating parts from runners, sprue gates whitens under cutting pressure. Therefore, always Make initial cuts 1-2mm away from part edges,subsequently trim remaining gates.
Cutting principles: Orient cutter's flat side toward the part, for vertically elongated gate cross-sections (rectangular profile), position blade vertically,Always cut along the gate's thinnest cross-sectional dimension.This minimizes cutting force and prevents stress-induced whitening.
II. Post-Removal Sprue Gate Treatment
After runner separation, proceed with meticulous gate refinement using precision knives instead of nippers, Trim gates to 0.5mm residual height,Gradually shave remaining gates using alternating left-right slicing motions, and never perform single-stroke base-level cutting
Refinement Options:Direct Sprue Gate Finishing
a. Vertical scraping with precision knife (Note: High scratch risk for novices)
b. Nail buffing for stress marks
c. Color-matching marker touch-ups (effective for whitened/gilded/painted gates)
Sanding Fundamentals: While beginners may stop at basic treatments, mastery requires sanding proficiency - an essential yet challenging skil
(Take this part as an example. This is the state after being simply sharpened with a pen knife. You can clearly see the sprue gate on this part.)
Sanding Protocol (Example): After knife finishing, observe visible gate remnants,File entire surface along planar direction using rigid model file,Progress through sandpaper grits: 600 → 800 → 1200,Final polish with toothpaste/molding compound,Apply matte topcoat for visual uniformity.

III. Parts Adjustment Modifications
Even model kits may exhibit imperfect peg-socket fits due to mold aging. Adjustment methods,shave peg exteriors to D-shaped profiles,Vertical scraping for controlled thinning,Socket enlargement via rotational cutting.
IV. Details processing
Panel lining enhances depth perception by depositing dark pigments into surface recesses.
Critical Timing Note:Pre-line parts before gate treatment to prevent pigment infiltration into stress cracks.
Methods: Clean excess with thinner-damped cotton swabs
Warning: Enamel solvent may degrade snap-fit structural integrity
V. Surface Finishing(Matte/Gloss Coating)
The Topcoating modifies surface luster to mitigate plastic artifacting and protect components.We should maintain 20-30cm spraying distance and employ rapid sweeping motions to spraying topcoat.
Material and environmental requirements: Humidity <65% RH,Can temperature: 25-40°C (pre-warm in water bath)
Drying observation:Matte coats achieve final appearance post-full curing,Gloss coats stabilize at surface moistening stage.

